 French
  English
  German
  Russian
  Korean
  Spanish
A favourite plush toy usually fails the same way: a seam splits at the closing stitch, a handful of filling escapes, and suddenly the toy that has survived years of bedtime looks beyond saving. The good news is that most damage is repairable at home with a needle, matching thread, and half an hour. Knowing how to repair plush toys properly also saves money and keeps a comfort object in a child’s life instead of in the bin — which matters more than people expect, because a well-loved toy is not interchangeable with a new one. This guide on how to repair plush toys covers the six repairs that fix the large majority of damage, the tools that make them possible, and the safety checks to run afterwards. If you are deciding whether a damaged toy is worth fixing or should be replaced, our complete plush toy buying guide explains what to look for in a durable replacement, and our care and washing guide covers the cleaning step that should come before any repair.
Before You Start: Decide Whether Repair Is Worth It
Anyone can learn how to repair plush toys, but not every damaged toy deserves it. Start with a two-minute assessment. Hold the toy in good light and check three things: how much damage there is, where it iset who uses the toy.
If the damage is a single opening along a seam, repair is almost always worthwhile. If there are multiple openings, thinning fabric across large panels, or a structural failure where a limb has partially detached, repair is still possible but will be more involved and less invisible. If the toy is used by an infant, the calculus changes: a repaired toy on a baby’s product introduces new risks that are hard to verify at home, and for that age group we generally recommend replacement with a purpose-built item. Our guide to safe plush toys for babies explains the age-grading rules behind that advice.
Also check whether the toy is structurally sound underneath. Pinch the fabric near the damage: if it tears under gentle pressure, the pile is degraded and stitching will simply pull through. In that case a patch or an internal backing fabric is required, not just a seam closure.
Tools and Materials You Actually Need
You do not need a specialist kit to learn how to repair plush toys, but the right tools make the difference between a repair that disappears and one that looks like surgery.
| Tool | What it is for | Acceptable substitute |
|---|---|---|
| Curved upholstery needle | Closing seams from the inside, especially on thick pile | Sharp hand-sewing needle with large eye |
| Polyester thread, matched colour | Seam repair; polyester resists shrinking in later washes | Cotton-wrapped polyester in a close shade |
| Ladder (invisible) stitch technique | Seam repair that hides the thread completely | Whip stitch with matching thread |
| Polyester fibrefill | Restuffing lost volume | Clean, carded craft filling |
| Small curved scissors or seam ripper | Opening a seam cleanly to insert filling | Small embroidery scissors |
| Soft slicker brush or clean toothbrush | Reviving matted pile after repair | Wide-tooth comb |
| Fabric patch + fusible interfacing | Backing thin or torn panels | Iron-on patch on the inside |
| Replacement safety eyes with washers | Re-attaching lost or loose eyes | — (do not substitute with glue-on craft eyes for children) |
One caution on thread: do not use cotton thread on a toy that will be machine washed. Cotton shrinks and weakens faster than polyester, and the seam will open again after the next wash cycle.
How to Repair Plush Toys: The Six Repairs That Cover Most Damage
These six techniques handle the overwhelming majority of real-world damage. Work slowly, keep tension even, and accept that the goal is structural integrity first and invisibility second.
1. Close an Open Seam With a Ladder Stitch
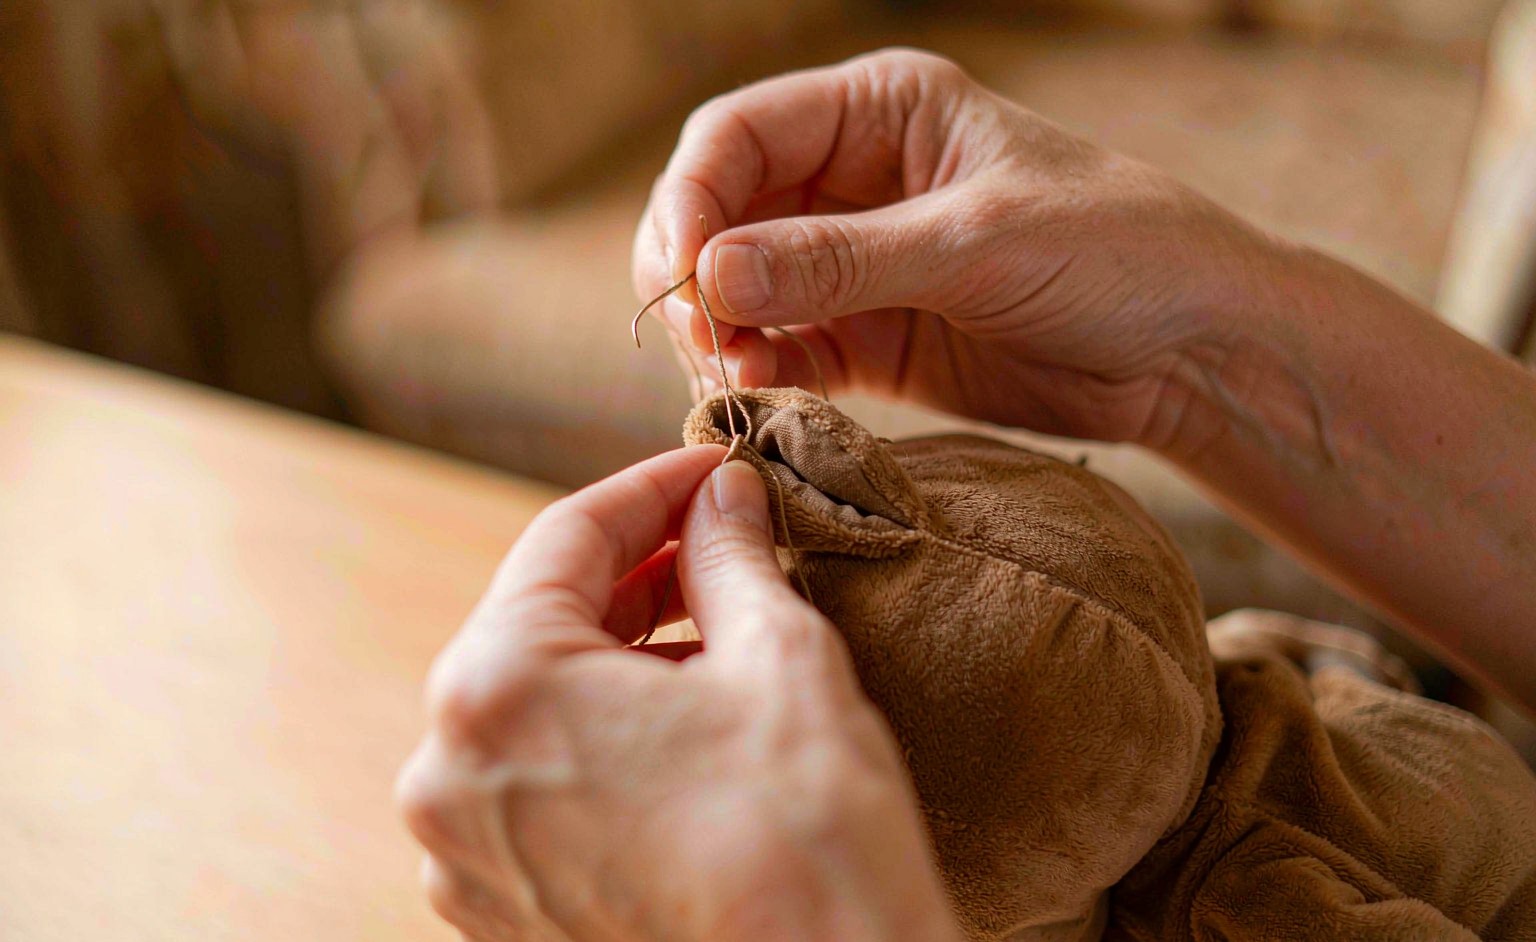
The ladder stitch is the single most useful skill for anyone learning how to repair plush toys, because it closes a seam from the outside without visible stitching. Thread your needle and knot the end, then:
- Bring the needle out from inside the toy, just under the opening, so the knot is hidden.
- Take a small stitch (3–4 mm) through the fabric on the droit side of the opening, moving horizontally.
- Take a matching small stitch directly opposite on the left side.
- Continue alternating sides, keeping stitches level and evenly spaced.
- After every 4–5 stitches, pull the thread gently — the two fabric edges should roll together and the stitches disappear into the pile.
- At the end, take a tiny backstitch, bury the thread by running the needle through the pile, and cut flush.
Brush the seam afterwards to lift the pile over the thread. Done correctly, plush toy repair of this kind is genuinely difficult to spot.
2. Replace Lost Filling
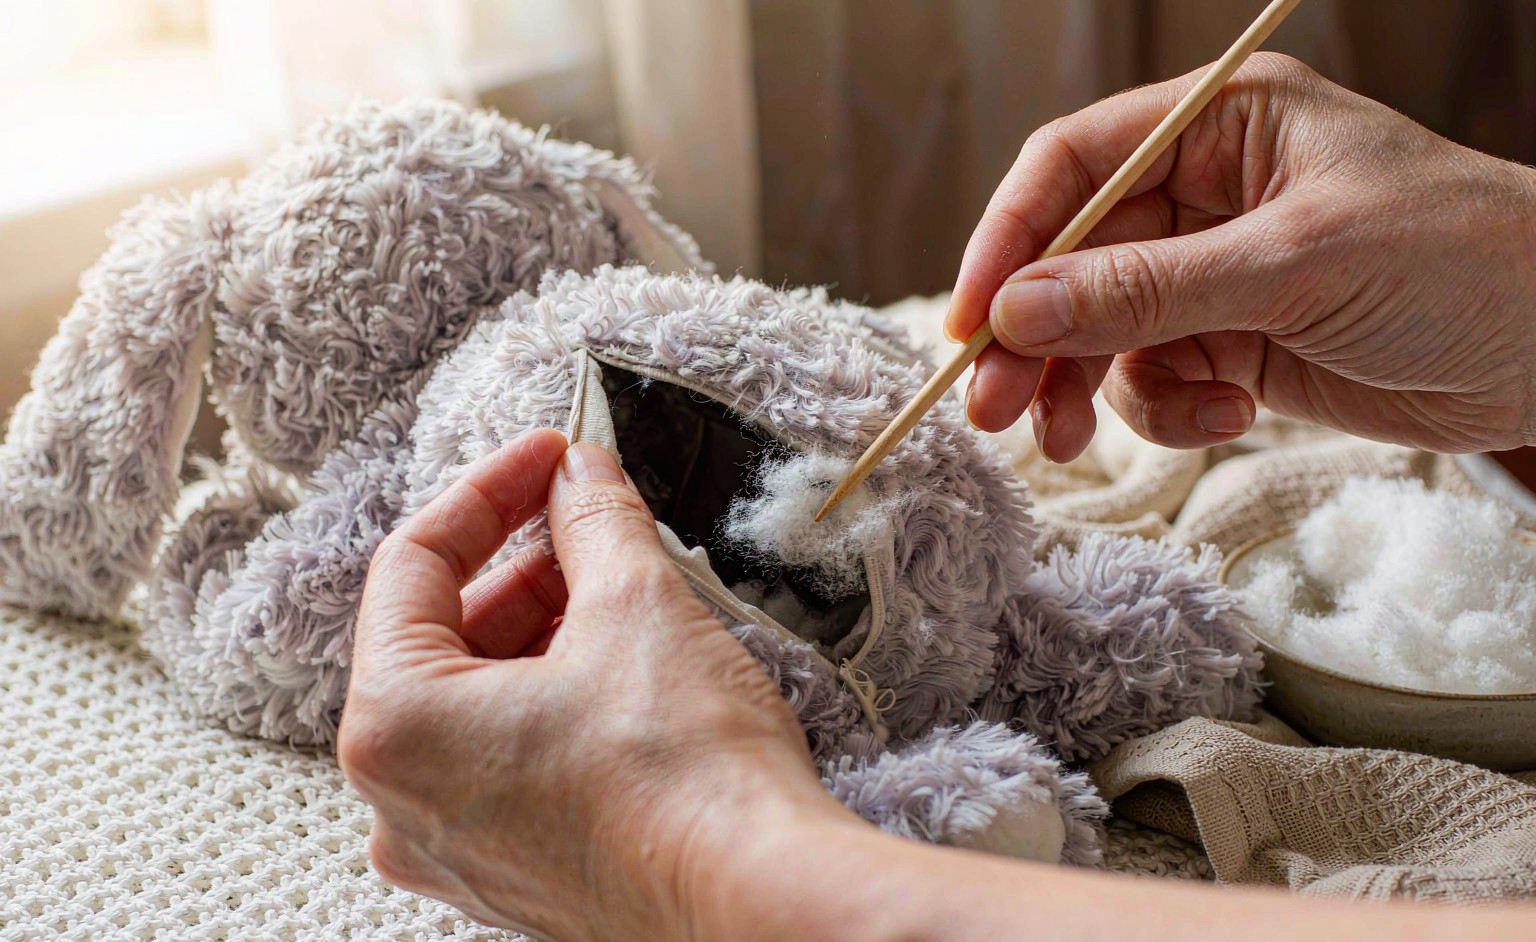
Openings usually leak filling before anyone notices them. To restore shape, use the existing opening (or unpick 3–4 cm of the closing seam) and add filling in small amounts, pushing it into the extremities first — paws, ears, tail — before the body. Use the handle of a spoon or a chopstick to place filling precisely rather than compressing everything into the centre.
Aim for firm but squeezable: the toy should recover its shape when released. Knowing how to repair plush toys also means knowing when to stop adding filling. Overfilling is a common mistake and it stresses the seams you just repaired. When you are satisfied, close the seam with a ladder stitch.
3. Reattach or Replace Safety Eyes
This is the repair that should never be improvised when you are working out how to repair plush toys safely. Proper safety eyes consist of a plastic eye front and a locking washer pressed onto the shaft from inside the toy, and the assembly is tested to resist pull and torque. If an eye has come off, check whether the washer is still inside; if so, and if the shaft is intact, the eye can often be re-seated by pressing the washer back on until it clicks.
If the shaft or washer is broken, the correct fix is a replacement safety eye of the same diameter with a new washer, fitted through the original hole. Never glue craft eyes onto a toy used by a child — adhesive bonds fail under chewing and pulling, and a detached eye is a choking hazard. After any eye work, pull firmly and rotate the eye to confirm it is locked. Where the toy belongs to a young child, review the guidance in our article on plush toy safety standards before returning it to use.
4. Patch Thin or Torn Fabric
When the pile has worn through, closing the hole directly will not hold, which is a common discovery for anyone learning how to repair plush toys. Cut a patch from a similar fabric 1.5 cm larger than the hole on all sides, insert it through the opening, and either fuse it in place with lightweight fusible interfacing or stitch it to the inside with small running stitches. Then close the outer opening over the patch with a ladder stitch. For high-wear areas such as paws and noses, a patch placed inside the toy lasts longer than an external one.
5. Revive Matted or Flattened Pile
Years of handling compresses pile into a dull mat. Brush gently with a soft slicker brush or a clean toothbrush in short strokes, working in one direction. For stubborn flattening, hold a steamer or a kettle spout at a safe distance (15–20 cm) and let the steam relax the fibres, then brush again — never press a hot iron directly onto synthetic pile, which melts the fibres permanently. This step makes a repaired toy look cared-for rather than patched.
6. Repair Limbs, Joints, and Sound Units
Limbs usually fail where they are sewn to the body, and this is where practice in how to repair plush toys pays off most. Turn the toy so you can see the attachment seam and re-stitch with a double-running stitch using strong polyester thread, taking the needle through the original holes where possible to avoid perforating the fabric further.
Squeakers and sound units are trickier. If a squeaker has simply stopped working because the casing is compressed, gentle manipulation sometimes restores it. If it is punctured, it must be removed and replaced — and because removing it means opening the body, plan to restuff at the same time. If the toy contains electronics, do not attempt repair; sealed battery compartments are not user-serviceable and opening them creates new hazards.
Repair or Replace: A Practical Decision Table
| Damage | Repairable at home? | Effort | Recommandation |
|---|---|---|---|
| Single open seam under 8 cm | Yes | Faible | Ladder stitch; check for lost filling |
| Multiple open seams | Usually | Moyen | Repair all, then inspect the rest of the seams |
| Lost filling only | Yes | Faible | Restuff in small amounts |
| Detached safety eye | Yes, with correct part | Moyen | Refit with locking washer; pull test after |
| Worn-through fabric panel | Yes | Medium–high | Internal patch plus seam closure |
| Detached limb | Yes | Moyen | Re-stitch attachment seam with strong thread |
| Structural collapse / degraded fabric | Rarely | Haut | Consider replacement |
| Damaged electronics or battery unit | No | — | Do not repair; retire the unit |
| Toy used by an infant under 12 months | Case by case | — | Prefer replacement with an age-graded item |
After any repair, and this is the step people skip when they learn how to repair plush toys, run three checks before the toy goes back into service: pull gently on all attached components, inspect every other seam for the same failure mode, and confirm no loose threads, needles, or trims remain. Then wash or spot-clean the toy, since a repair session leaves handling marks — the method in our washing guide is safe for a freshly repaired seam provided the stitching has cured for a day.
Why Repair Is Back in Fashion
Search interest in how to repair plush toys has grown alongside a broader shift: buyers are keeping products longer, and manufacturers are designing for durability rather than replacement. Three trends are visible in the category. Repair culture has gone mainstream, with visible-mending aesthetics turning patched toys into something people show rather than hide. Material durability has improved, with higher-density polyester fills and stronger seam constructions meaning a modern toy survives far more washing cycles than its equivalent from a decade ago. And emotional durability has become a design goal in its own right, because a toy that can be repaired is a toy that stays in a child’s life through the years when it matters most.
If you are choosing a new toy with longevity in mind, look at plush toy materials to understand which fabrics and fills resist wear, and consider eco-friendly plush options if extending product life is part of how you want to buy.
Questions fréquemment posées
Can you repair a plush toy without sewing?
If you want to know how to repair plush toys without sewing, small openings can be closed temporarily with fabric glue or fusible bonding tape, but these do not hold up to washing or heavy handling. For any seam that will be touched, played with, or laundered, hand stitching with a ladder stitch is the only repair that lasts.
What stitch is best for closing a plush toy seam?
The ladder stitch, also called the invisible stitch, is the best choice because it pulls both fabric edges together and hides the thread inside the pile. Work with small even stitches about 3 to 4 millimetres apart, and pull the thread gently every few stitches rather than at the end.
How do you restuff a plush toy without lumpy filling?
Add polyester fibrefill in very small amounts and push it into the extremities first, using a spoon handle or chopstick to place it. Fill the body last and stop when the toy is firm but still squeezable, then close the seam before brushing the pile back over the stitching.
Is it safe to glue a replacement eye onto a child’s soft toy?
No. Glued craft eyes can detach under chewing or pulling and become a choking hazard. Use a proper safety eye with a locking washer fitted from inside the toy, and always perform a pull test before returning the toy to a child.
When should a damaged plush toy be thrown away?
Retire a toy when the fabric has degraded to the point that stitching pulls through, when electronics or battery compartments are damaged, when there is mould or persistent odour after washing, or when the toy is used by an infant and cannot be verified as safe after repair.
A well-made toy is worth repairing, and knowing how to repair plush toys extends that life further, and a well-designed one is built to be repaired. If you are sourcing plush that survives years of real use — reinforced closing seams, locked safety components, and fills that recover their shape — talk to us about building it. Explore what we make on our fabricant d'animaux en peluche page, bring a sketch to our design team, see how a new item is developed in our sampling guideou nous contacter for a quote. You can also download our catalog to browse the full range.