 Russian
  English
  German
  French
  Korean
  Spanish
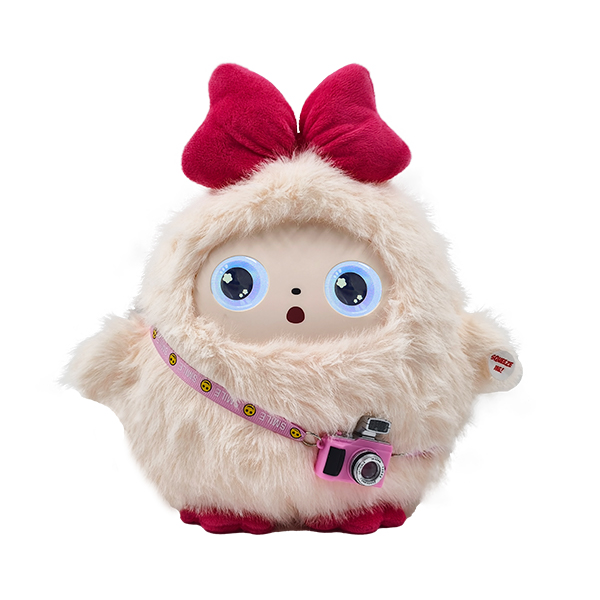
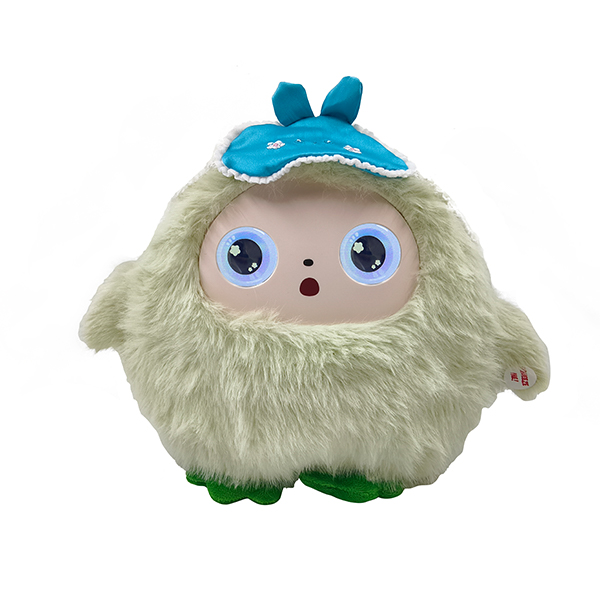

Every плюшевая игрушка на заказ begins life as flat artwork — a vector mascot, a character turnaround, a brand illustration. And every finished plush begins its physical existence as a stack of flat fabric panels cut from a sewing pattern. The transformation between those two states is where most sampling surprises happen, because 2D to 3D plush pattern making is not a mechanical conversion — it is an act of engineering interpretation. Your pattern maker must decide where every seam goes, how much fabric to “hide” in darts and gussets, and which details your artwork implies but fabric cannot literally reproduce.
На сайте StuffPlush, our pattern makers have translated thousands of characters — from simple bean-shaped keychain plush to articulated mascot figures with engineered internal frames — and the clients who get the best samples fastest are the ones who understand what happens to their artwork at this stage. This guide walks you through the entire translation process, so you can brief better, review patterns intelligently, and avoid the revision loops that add weeks to a sampling timeline.
What Your Pattern Maker Actually Receives (and What They Need)
The quality of your first pattern depends almost entirely on the completeness of your input. Here is the hierarchy of what helps:
The Minimum Viable Brief
| Asset You Provide | What the Pattern Maker Does With It | If Missing |
|---|---|---|
| Vector artwork (AI/EPS/PDF) | Traces silhouettes, measures proportions | JPEG/PNG works but limits precise scaling |
| Turnaround views (front/side/back) | Establishes depth — the side view is the single most important drawing | Pattern maker must guess volume; expect extra revisions |
| Size specification | Sets the scale for every panel | Assumed at 20cm default; wrong guesses cost a full sample round |
| Fabric map (which material on which part) | Determines seam allowance width and stretch orientation | Factory picks a default fabric; changes ripple through every panel |
| Pantone TCX codes | Anchors color for dyeing | Hex/RGB values cannot specify textile color at all |
The side-view drawing deserves special emphasis. A front view alone tells the pattern maker nothing about how round the head is, how deep the belly bulges, or at what angle the ears attach. If your character exists only as a front-facing illustration, budget for one extra revision round — the first sample is effectively a depth-guessing exercise.
The 5-Stage Translation Pipeline
Professional plush pattern making follows a consistent sequence, typically running 5–10 working days from artwork receipt to a reviewable physical sample:
| Stage | Activity | Duration | Output |
|---|---|---|---|
| 1. Artwork deconstruction | Break character into anatomical volumes | 24–48 hrs | Marked-up drawing with seam plan |
| 2. Pattern drafting | Convert 3D volumes into flat panels with CAD | 2–3 days | Vector dieline, all pieces labeled |
| 3. White-body sample | Cut muslin/plain fabric, assemble unstuffed shell | 4–6 days | Physical check of silhouette and volume |
| 4. Detail assembly | Embroidery digitizing, fabric swap, stuffing calibration | 7–10 days | Finished prototype, 360° photos/video |
| 5. Revision & golden sample | Implement feedback, seal reference unit | 3–5 days | Signed golden sample for production |
Darts and Gussets: The Two Tools That Create Volume
This is the heart of 2D to 3D plush pattern making. Fabric is flat; your character is not. Pattern makers have exactly two structural tools to bridge that gap, and understanding them will transform how you review patterns.
Darts: Localized Shaping
A dart is a wedge-shaped tuck sewn into a single panel, removing excess fabric so the panel curves. Triangular darts create rounded cheeks, plump foreheads, and curved bellies; oval darts pull limbs and torsos inward for a tapered look.
What this means for your artwork: if your character has a notably chubby cheek or a rounded muzzle, the pattern will contain dart marks in exactly those regions. When you review a pattern dieline, small wedge shapes on otherwise smooth panels are not errors — they are the mechanism producing your character’s proportions.
Gussets: Structural Volume
A gusset is a separate strip or shaped panel inserted between two body panels. A head gusset (running from forehead over the crown to the back of the skull) turns a flat, two-panel head into a rounded 3D skull. A belly gusset adds width so the toy sits properly instead of rolling forward. A foot pad gusset creates a flat standing surface.
The pattern-review question that matters: “How many pieces is the head, and where does the gusset run?” A 2-panel head is cheap and fast but produces a flat-faced look; a 4–6 piece head with a full gusset produces the round, professional silhouette buyers expect at retail. This is also why two factories quoting the “same” character can differ 15–20% in fabric consumption — the one quoting lower is likely using fewer panels.
Seam Allowance: The 3–5mm Rule
Plush toy patterns typically carry a 3–5mm seam allowance — narrower than garment sewing — because plush seams are overlocked or flat-locked and turned through tight curves. Two practical consequences:
- Details smaller than ~8mm cannot survive sewing. Fine line work in your artwork (whiskers, thin jewelry, delicate wing veins) will be simplified, embroidered instead of seamed, or dropped. Review your design at production size before sampling.
- Tiny appendages cannot be turned or stuffed. A tail or finger narrower than about 15mm at the pattern stage is a production hazard — it will not turn right-side-out without seam damage and cannot be stuffed evenly. Good pattern makers widen these elements slightly; expect the final plush to have slightly chunkier limbs than your artwork shows.
Fabric Behavior: Why Panels Are Never Drafted to Final Size
Plush fabric stretches — and critically, it stretches directionally. Knit-backed fabrics like minky stretch across the warp (lengthwise) grain far more than along it. Pattern makers account for this in two ways that routinely surprise first-time plush buyers:
Grain Orientation Decisions
Main body panels are aligned so the non-stretch direction bears the load — otherwise a firmly stuffed body elongates like taffy over time. This means panels on your dieline may be rotated in ways that look arbitrary; they are not. Rotations minimize stretch where structure is needed.
Buyer action item: if your character has a directional feature (a striped tail, a gradient belly), ask which grain direction it will be cut on. A stripe that runs perpendicular to the stretch direction will look correct out of the box but sag within weeks of hugging.
Pre-Shrinkage and Pile Compression
Long-pile fabrics compress when sewn. A pattern drafted at exact final size for a 25mm-pile fabric produces a plush roughly 5–8% smaller than intended, because the pile “eats” into the seam. Experienced pattern makers scale panels up and set stuffing weights (+/- 5g tolerance) to compensate — this is one of the clearest markers of a skilled plush pattern maker versus a general garment pattern cutter.
Embroidery Digitizing: When Your Face Becomes Stitches
For most characters, the face is embroidered — and embroidery has its own translation logic entirely separate from the sewing pattern:
- Vector faces are re-drawn as stitch paths: facial features are converted into layered satin-stitch borders over tatami fill. Fine gradients become discrete thread colors; a soft blush becomes a two-tone oval.
- Detail floor is ~2mm: features smaller than 2mm in the artwork (eye highlights, tiny nostrils) either disappear or merge into surrounding shapes.
- Digitizing adds 1–2 days to the sampling timeline and is quoted separately (typically $15–60 per design depending on complexity).
The single most valuable thing you can provide for face accuracy: send your artwork at final production size. A face designed on a 4000px canvas and then shrunk to 6cm loses all its fine detail in translation; a face designed at 6cm makes its compromises at the drawing stage, where they are cheapest to fix.
Reading a Pattern Dieline: A Buyer’s Field Guide
When your factory sends the pattern file for approval (good factories do this before cutting), here is how to review it in 15 minutes:
| What You See | What It Means | When to Push Back |
|---|---|---|
| Piece count (e.g., “head: 4 pieces + gusset”) | Construction complexity; drives both cost and shape quality | Under 6 pieces for a round-headed character = flat-face risk |
| Wedge marks on panels | Darts for localized shaping | Only if the dart is in a region your design keeps flat |
| Long strip between body panels | Belly/side gusset | Missing belly gusset on a “sitting” character = it won’t sit |
| Rotation arrows on pieces | Grain/stretch orientation | If a directional fabric feature (stripe/gradient) conflicts with the arrow |
| “Cut 2 mirrored” / “cut on fold” labels | Symmetry instructions | Missing labels = sewing errors at the cutting table |
| Notch marks (small ticks on edges) | Alignment points for sewing | Missing notches on curved seams = misaligned assembly |
One caution: do not approve or reject a pattern based on whether the flat panels “look like” your character. Flat panels never do — a correct head panel looks like an abstract curved blob. Evaluate the summary parameters (piece count, gusset placement, size callouts), then judge the physical white-body sample for silhouette.
Common Translation Losses (and How to Brief Around Them)
Every artwork-to-plush conversion loses something. The professionals plan for it:
| Artwork Feature | Typical Translation | Briefing Fix |
|---|---|---|
| Smooth color gradients | Discrete color blocks or sublimation print (short-pile only) | Redesign as 2–3 flat color zones, or accept printed fabric cost |
| Fine line detail (<2mm) | Dropped or converted to embroidery | Thicken lines at final size, or move detail to printed packaging |
| Very thin appendages | Widened 20–40% | Pre-widen in artwork so proportions stay under your control |
| Complex undercut geometry | Simplified into sewable panels | Ask for the seam plan early — before falling in love with the pose |
| Screen-specified colors (hex) | Meaningless for textiles | Specify Pantone TCX and approve a physical swatch under D65 daylight |
| Hair/fur drawn as strands | Constructed from pile length + direction | Specify pile length (e.g., “12mm long-pile on tail, 6mm on body”) |
The gradient issue is worth singling out: it is the most common sampling dispute in custom plush. Fabric is flat-dyed; it cannot reproduce a soft digital gradient. Your options are discrete color zones (cheapest), sublimation printing on short-pile plush (mid-cost, fades texture), or airbrush finishing (premium, hand-labor). Decide before sampling, not after.
Pattern Making Across Our Production System
На сайте StuffPlush, plush pattern engineering is integrated with the rest of the manufacturing workflow rather than siloed:
- Design review before drafting: our pattern team reviews your artwork against manufacturability criteria — panel-decomposability, minimum-feature sizes, grain conflicts — and flags issues before drafting, when changes are free.
- CAD pattern drafting: all patterns are drafted in vector CAD, so revisions are dimensional edits rather than re-drafts, and the same file drives both the cutting table and the costing sheet.
- White-body checkpoint: before any face fabric or embroidery is applied, you receive photos of the unstuffed shell for silhouette approval. Catching a proportion error at this stage saves a full sample round.
- Golden sample discipline: the approved sample becomes the sealed reference unit that every production piece is checked against — and the pattern file is archived with your project, so reorders years later reproduce the identical toy.
This is the same discipline we apply to prototype sampling across every category we manufacture, from плюшевые подушки to articulated characters.
Часто задаваемые вопросы
What file format should I send for plush pattern making?
Send vector artwork (AI, EPS, or PDF) plus reference photos, ideally with front/side/back turnaround views. Vector files let the pattern maker trace precise silhouettes and scale to any production size without redrawing. If your artist works in Procreate or Photoshop, high-resolution PNG with clean silhouettes is workable but adds 1–2 days of tracing. If the face will be embroidered, also request a DST or EMB digitized file from your embroidery supplier — or let us handle digitizing in-house.
How long does 2D to 3D plush pattern making take?
From complete artwork to a reviewable physical sample: typically 7–14 working days. Pattern drafting itself is 2–3 days; the white-body sample adds 4–6 days; full detail assembly with embroidery and fabric is 7–10 days. Incomplete briefs are the main cause of delay — a missing side view or unspecified fabric can add 1–2 full revision rounds (about a week each). This timeline is a major input into your overall sampling-to-production schedule, so brief completely before starting.
Why does my plush pattern have more pieces than my design seems to need?
Because 3D volume is created by seams. A round head needs 3–6 panels plus a gusset; a curved belly needs an inserted strip; a shaped foot needs a pad panel. Fewer pieces mean a flatter, cheaper-looking toy. If your quote seems high, ask for the piece count comparison rather than assuming padding — a 12-piece head and a 4-piece head produce visibly different products. Conversely, if a factory quotes suspiciously low, an unusually low piece count is often the reason.
Can I request changes to the pattern after seeing the sample?
Yes, but understand the cost structure: pattern revisions at the white-body stage are cheap (dimensional edits, same day or next). Revisions after the full sample is assembled are more expensive, because changing one panel’s curve can cascade into every panel that sews to it. This is why we enforce a maximum of 2 structured revision rounds during sampling — each round has a defined feedback format, so changes are consolidated and dimensional rather than open-ended. Changing scope mid-sampling (new accessories, altered pose) resets the timeline entirely.
Do I own my plush pattern after production?
It depends on your agreement with the factory, and this is a genuine differentiator between manufacturers. At StuffPlush, patterns and tooling for fully custom designs are archived under your project ownership — we do not reuse your pattern for other clients, and reorders reproduce from the same file indefinitely. Some trading companies and low-cost factories retain patterns and resell near-identical designs to other buyers. If design exclusivity matters to your brand, put pattern ownership and non-reuse terms in the purchase agreement before the first sample — not after production.
How do I know if a pattern maker is any good before committing?
Three fast tests: (1) Ask how they would construct Ваш character’s head — a skilled pattern maker answers in pieces and gussets (“4 panels + center gusset, darts at the cheek”) within a day; a weak one answers in generalities. (2) Ask what they do about fabric stretch in panel orientation — the answer should mention grain direction and stuffing elongation. (3) Ask what pile compression allowance they apply for long-pile fabrics — “we scale up 5–8%” is the answer of someone who has actually made long-pile plush before. Factories that hesitate on all three are pattern-taking intermediaries, not makers.
Conclusion: Brief Like an Engineer, Review Like a Buyer
The gap between your 2D artwork and the 3D plush on your desk is crossed by a pattern maker making hundreds of small structural decisions — dart placement, gusset routing, grain orientation, seam allowance, pile compensation. You do not need to make those decisions yourself, but understanding them changes everything about the sampling experience: your briefs get complete, your pattern reviews get fast, and your revision rounds shrink from five to two.
На сайте StuffPlush, we treat 2D to 3D plush pattern making as the engineering core of every плюшевая игрушка на заказ project. Send us your artwork — even a rough concept sketch — and our pattern team will return a seam plan, piece count, and manufacturability review before you commit to sampling. If you are planning a holiday plush program or a full plush toy series, связаться с нами and let’s turn your flat ideas into something huggable.